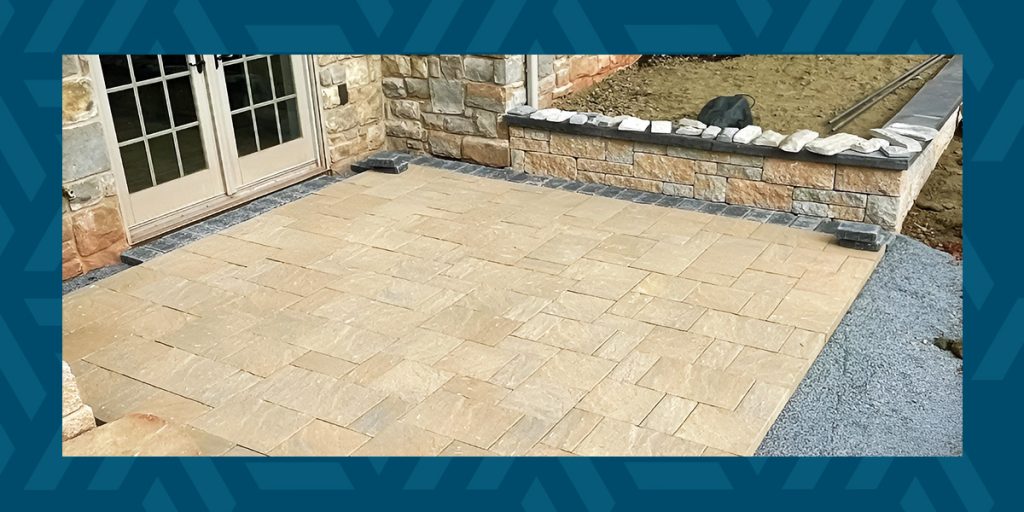
Do-it-yourself (DIY) patio installation is a cost-effective alternative to hiring a contractor. Paving a DIY patio involves measuring, light excavating, subbase preparation and paver installation. A dry-laid patio with concrete pavers is a durable, DIY-friendly option to enhance your home’s outdoor spaces and ensure longevity. With the right guidance, tools and materials, you can save money while crafting the patio you’ve always dreamed of.
Considerations for Building Your Own Patio
Planning a project keeps things running smoothly and prevents potential delays. You should consider the following before starting a DIY patio project.
Space Assessment
Assess your available space for a patio. Measure your yard’s dimensions and determine how much space you want to leave untouched and how large the patio will be. We recommend marking your work area with stakes and string to calculate the amount of materials you’ll need.
Permits and Regulations
Regulations vary by location, so you must check local building codes. You may need a permit for your patio if any of these factors apply:
- You plan to build a large patio.
- Your patio will include structural elements, such as walls or a roof.
- The patio will significantly alter the property’s landscape.
Design and Layout
Once you determine the patio’s size, you can start planning its design and layout. It’s important to consider how you will use the patio and how large you want it to be. For example, do you want to put a grill or a table and chairs on the patio? You should also consider your yard’s current slope and how you can work that into your layout.
Material Selection
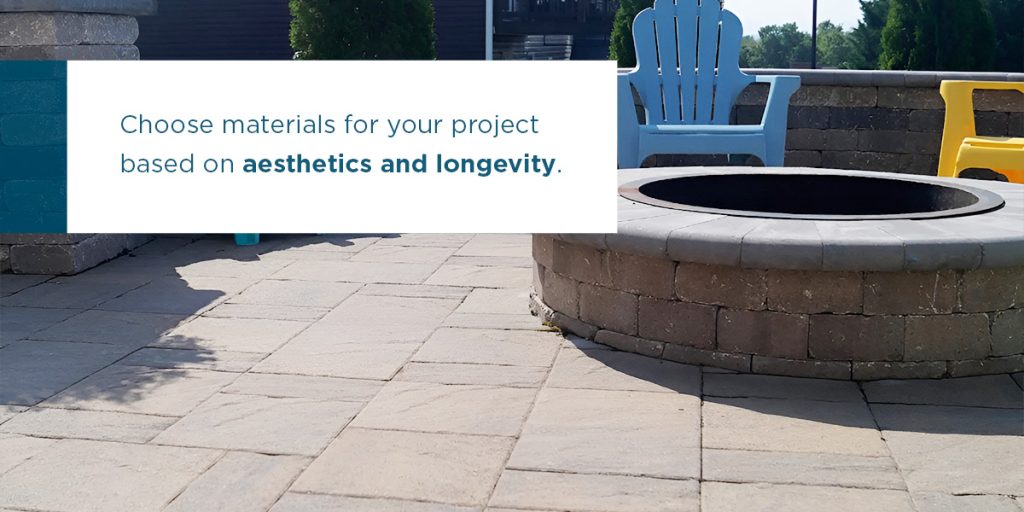
Choose materials for your project based on aesthetics and longevity. Concrete pavers offer several advantages for various outdoor spaces:
- Versatility: Concrete pavers come in various colors, sizes, shapes and textures. You can use pavers to achieve your desired style and aesthetic.
- Durability: Pavers are manufactured under high pressure, giving them incredible strength and density.
- Flexibility: Concrete pavers are flexible and weather-resistant due to their interlocking design. This design enables individual pavers to move against each other, accommodating ground movement. They can handle heavy loads, temperature changes and soil expansion without cracking.
Site Preparation
Depending on your property’s current landscaping, you may need to plan for these site preparation tasks:
- Removing existing vegetation, such as weeds and grass
- Excavating the soil for a level base
- Adding a sand or compacted gravel layer
- Defining the patio perimeter with edging
- Installing drainage
Budget
Set a budget before starting the project to keep your costs within an affordable range. You can work through a budget by gathering estimates for:
- Materials: List all necessary materials and their cost estimates. Consider how much of each material you plan to purchase and use.
- Tools and equipment: Patio installation requires a few tools and pieces of equipment. Add the purchase or rental price of each tool to your budget.
Future Maintenance
A well-crafted patio is less likely to require significant maintenance and repairs in the future. Choosing quality materials and installing durable edging helps maintain the integrity of your patio. Individual pavers are much easier to repair than large slabs, simplifying maintenance and repairs if your patio needs attention in the future.
How to Build Your Own DIY Paver Patio
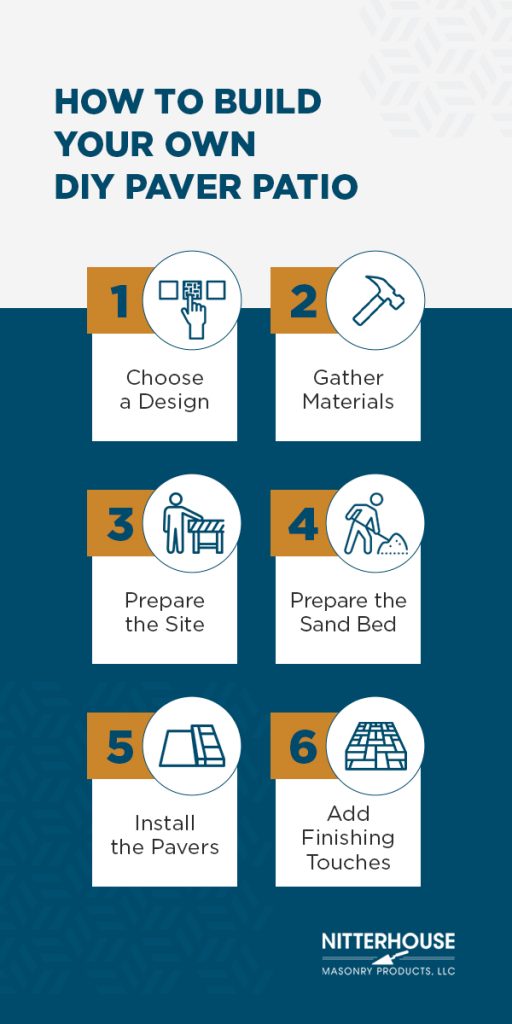
You can build a DIY backyard patio using the following steps.
1. Choose a Design
Proper planning and design are essential for a functional patio. Consider these factors when planning your patio’s design:
- Slope: You can work slopes into your patio design, incorporating multiple levels and beautiful stairs. Consider the slope of your yard and how you want to use it in your design.
- Unique shapes: Your design can involve unique shapes, such as circular sections and winding pathways. You can loop paths around landscaping beds and trees or use your patio to connect multiple decks. Gather DIY patio ideas for inspiration, and sketch your desired layout over a small-scale version of your yard.
- Usage: How do you plan to use the patio? Think about what’s most important to you and how you can create a space that meets your needs. If relaxation is your top priority, you might add cozy firepits and surround the space with beautiful gardens. If you plan to use the patio for entertaining guests, creating a spacious environment is the top priority. Consider traffic patterns and how people can move through the space.
- Size: It’s typically best to add a minimum of 25 square feet of patio space for each household member. However, your intended usage plays a significant role. The most functional option is to ensure your patio extends at least 16 feet in one direction. If you plan to include a dining table and chairs, you should account for a 6X6-foot space out of traffic areas.
- Outdoor furniture: What type of furniture will be on the patio, and how will you arrange it after the patio is complete?
- Special features: Create space for special features, such as a pool or fire ring, if you plan to include them now or in the future.
- Shade cover: You’ll also want to consider shade coverage. Where do trees cast the most shade over the yard? At what times of the day does each area receive the most sunlight? Consider when you plan to use the patio and how much lighting or shade coverage you want.
2. Gather Materials
You will need several materials for your project:
- Level
- Two-by-four board
- Tape measure
- Spray paint
- String line & stakes
- Pavers
- Subbase material, such as sand or crushed gravel
- Edging materials, such as plastic, metal, brick or stone
- Spikes
- Hammer
- Flat-plate vibrator
- Masonry saw
- Screed board
- Rubber mallet
Ordering extra pavers makes it easier to maintain and repair your patio if necessary. After estimating your patio’s square footage, add 5% to determine how many extra pavers to order. If your design involves several curves, half pavers or borders, you can raise this estimate to 10%.
Each yard of sand or gravel provides a 1-inch base for approximately 300 square feet of patio space. You should also order a little extra subbase material to fill cracks after completing your patio.
3. Prepare the Site
Use your level, two-by-four board and tape measure to determine your yard’s slope. It’s important to give your patio a slight slope of 1 inch for every 4 to 8 feet away from your house. This creates adequate drainage to prevent rainwater from settling into low spots and washing your subbase materials away. If your yard has low spots, you can raise them with an extra subbase layer.
Place a long two-by-four board at the bottom of your home’s outdoor stairwell or 1 inch below your door’s threshold. Mark appropriate distances away from your home to indicate the slope. Create your patio outline with spray paint or stakes and string.
4. Prepare the Sand Bed
Next, you can begin excavating and compacting the subbase. Remove loose soil and sod from your patio area, digging a depth of 4 inches in the entire patio area and extending it 8 inches beyond the perimeter.
Use your guide strings to establish a uniform height for your subbase. Add the subbase material to a height of 3 ½ inches below the guide strings, and ensure it extends 8 inches beyond your patio’s established edge.
A flat, firm surface is necessary for an even patio. If your patio area is less than 10 feet wide, you can use a screed board with 2-inch notches to level the sand bed. If your patio is larger than 10 feet, you can place long iron pipes in the sand and run your screed board along the top. Remove the pipes and fill the grooves with sand. Lay pavers the same day you screed the sand to prevent wind, rain and animals from ruffling it. Move a flat-plate vibrator in a circular motion over the subbase twice to compact it.
After compacting the subbase, you can install edging. Use 8- to 10-inch spikes to secure the edging along your patio’s perimeter. You can cut the edging’s webbing to flex it around curves. Use landscape timber as edging in areas where you need to change levels in your patio.
5. Install the Pavers
Now that you have a uniform sand base, you can begin installing your pavers. Start with your border pavers if you plan to create borders, and then lay the remaining pavers in your desired pattern. There’s no need to twist or bang on the pavers. You only need to lay them in place and make sure you keep them within your perimeters. It’s OK to leave a small gap between pavers, but you can also use a rubber mallet to gently tap them tighter together.
You may need to cut pavers with a masonry saw to fit them in your space. Recirculating water keeps the saw’s blade lubricated and cool for smooth cuts. Wear eye and ear protection while using the saw to prevent vision or hearing complications.
6. Add Finishing Touches
Use your flat-plate vibrator to lock the pavers into the sand and create an even surface. Avoid keeping the vibrator in one spot for too long because this could crack the pavers or cause them to settle unevenly. Instead, move the vibrator around the patio surface in a circular motion, starting on the outer edges and making your way toward the center. If a paver sinks lower than the others, you can pry it loose with screwdrivers and fill the excess space beneath it with sand.
After your pavers are settled in place, spread coarse sand over the entire patio surface to solidify it. Wait for the sand to dry and sweep it around the patio, filling the gaps between the pavers. If you want to enrich the color of your pavers, you can also apply a water sealer over the patio.
Spreading dirt in the space between your patio and the yard gives it a finished appearance. You can also use planting beds or grass to create a finished look.
Pathways and Additional Tips
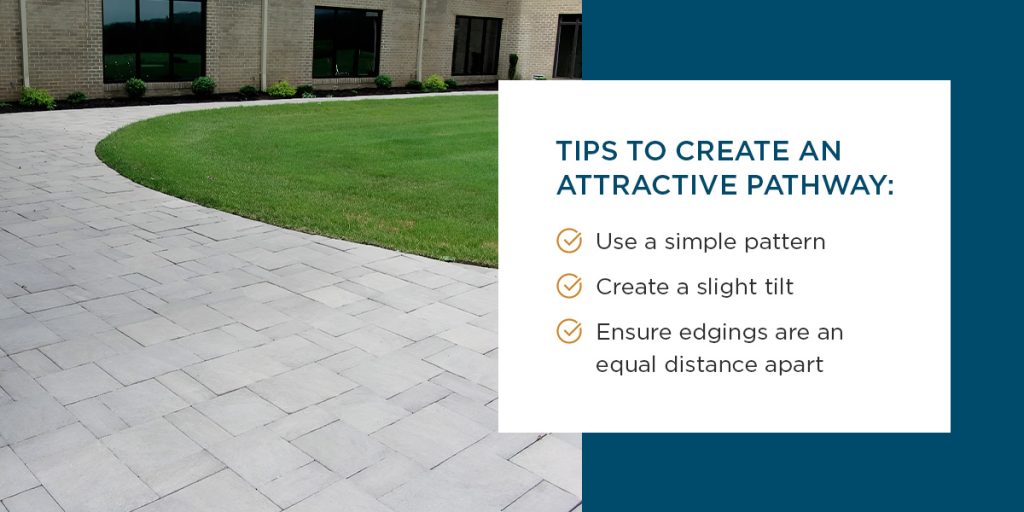
You may want to add pathways connecting your patio to a driveway, deck or doors. Use the following tips to create an attractive pathway:
- Use a simple pattern: A border and simple staggered pattern is typically the best option for a pathway.
- Create a slight tilt: Similar to your patio’s slope, a pathway needs a slight tilt for proper drainage. A ½-inch tilt is adequate for a 3-foot-wide path.
- Ensure edgings are an equal distance apart: Keeping edgings an equal distance apart makes it easier to screed, cut and lay the pavers.
The following additional tips can help you enjoy a smooth building process:
- Shovel material directly into a wheelbarrow: Shovel dirt and sod directly into a wheelbarrow to reduce your shoveling.
- Keep your truck or trailer close to your work area: If you plan to haul your dirt and sod away from your property, keep your truck, trash bin or trailer next to your excavation area. This reduces the number of trips you need to make hauling material.
- Unload materials close to your patio site: Unloading materials close to your patio site helps save time and energy. If you can, try to back the truck into your yard as close to the patio perimeters as possible.
- Seek assistance: Seeking assistance with labor-intensive tasks can help you complete your project faster and with less strain.
- Use high-quality materials: Reputable suppliers like Nitterhouse Masonry Products offer quality stone pavers to help you create a beautiful, long-lasting patio.
Common Challenges and Solutions for DIY Patio Installation
Consider some DIY patio installation challenges and how to approach them:
- Improper base preparation: Proper excavation, subbase compaction and leveling are essential for a stable foundation. Spend extra time on base preparation to avoid potential complications later.
- Incorrect slope and drainage: Double-check your base’s slope before laying pavers to encourage adequate water runoff and prevent water pooling.
- Paver misalignment and pattern errors: Pay close attention to layout strings to ensure precise alignment, and use interlocking patterns for uniformity. You can use a speed square to make precise paver cuts for curved edges. When you compact your pavers, it’s important to move the vibrator at a steady pace to avoid over-compacting sections.
- Edging and border installation complications: Remember to use flexible edging and bend it for curves. After installation, you can landscape around the edging with grass to help anchor it in the ground. If you need to incorporate different levels, you can create smooth transitions with steps, angled or curved walls, or strategically placed greenery.
Build a Beautiful Patio With Pavers From Nitterhouse Masonry Products
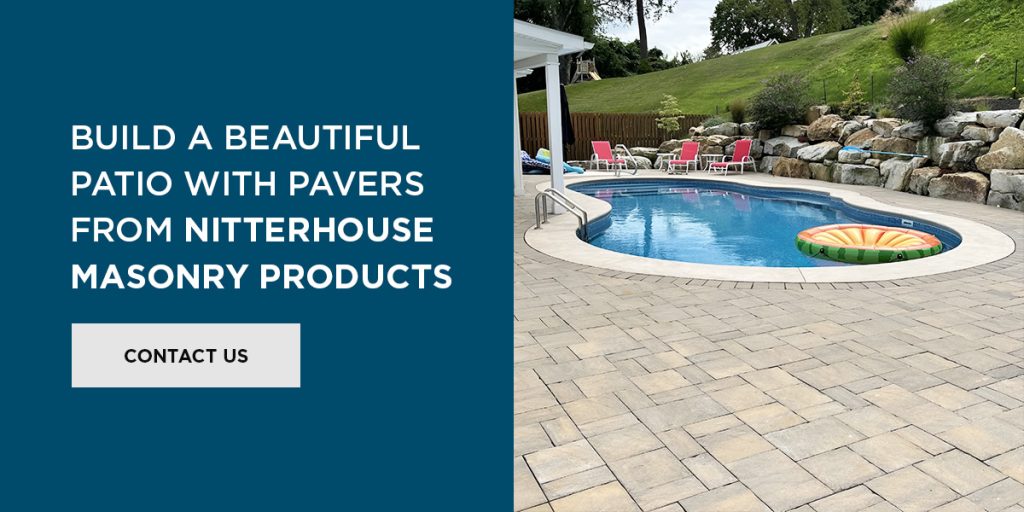
Building a DIY patio is a cost-effective way to enhance your yard, and quality pavers can help you craft a gorgeous outdoor oasis. With the right steps and materials, you can bring your vision to life. Nitterhouse Masonry Products offers beautiful, durable DIY patio pavers to help you craft your dream patio.
Our team provides excellent customer service and can help you choose the best pavers for your needs. As a family-owned business for five generations, we offer industry-leading masonry products. Browse our selection of high-quality pavers, or contact us to learn more about how our products can support your DIY paver patio installation.
